

Are you looking for an efficient way to navigate your React app? Look no further than React Router, a powerful library that makes it easy to manage navigation and state transitions in your application. In this comprehensive guide, we’ll explore everything you need to know about React Router, including installation, configuration, and usage.
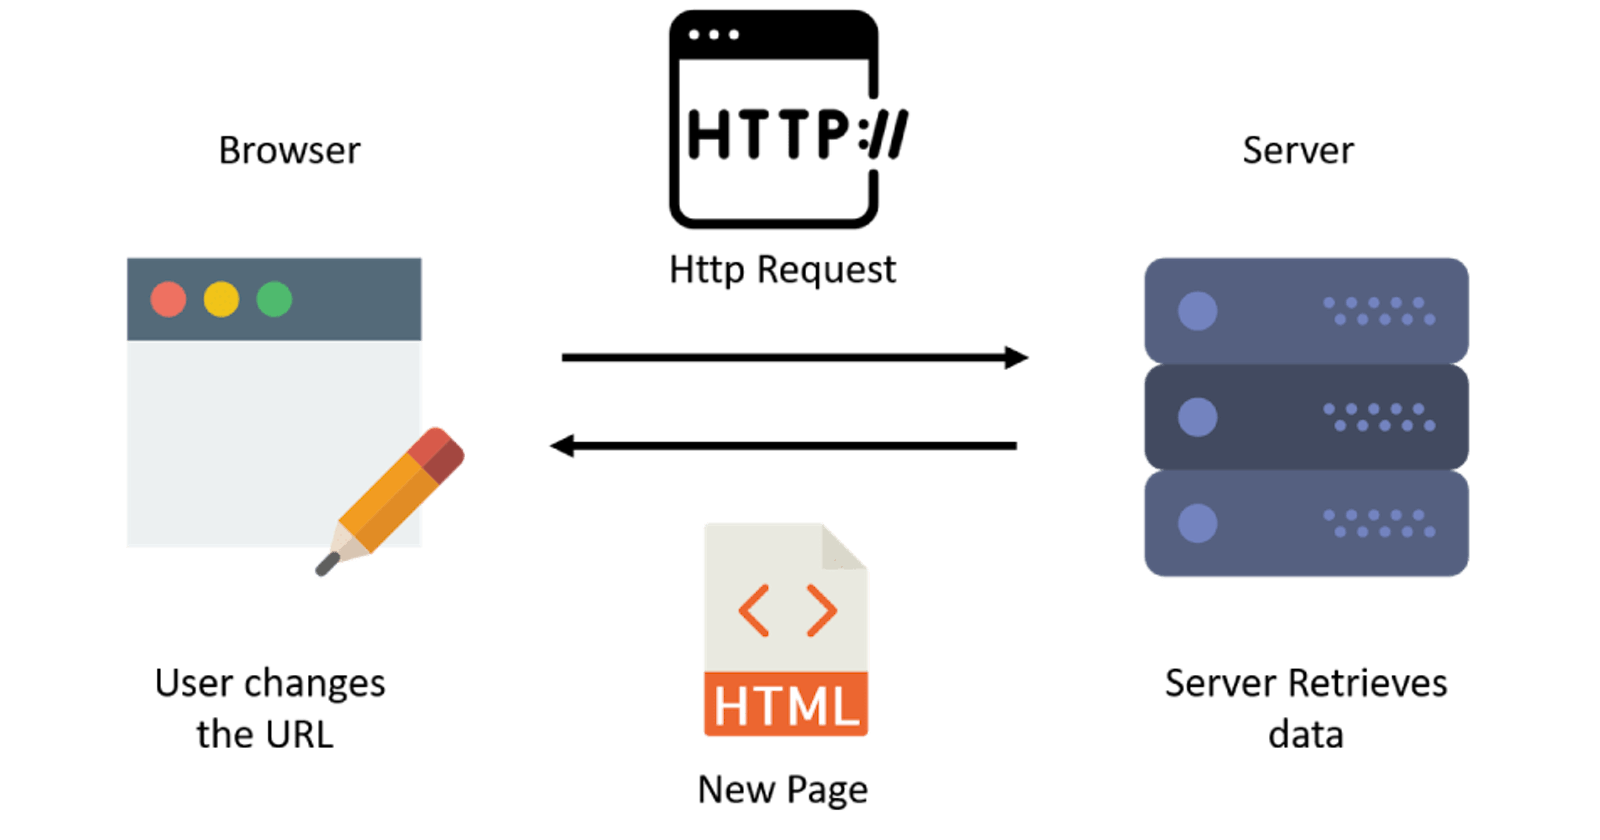
Before we dive into the specifics of React Router, let’s take a moment to discuss the importance of navigation in your app. Effective navigation is essential to creating a seamless user experience, helping users find what they’re looking for quickly and easily. Without a reliable navigation system, your app can quickly become confusing and frustrating to use.
Thankfully, React Router provides a comprehensive set of tools for managing navigation in your app. With its simple, declarative syntax, you can easily define and manage routing rules, allowing users to move smoothly between different parts of your app.
Getting Started with React Router
To get started with React Router, you’ll need to install the package using npm or yarn. To do so, run the following command in your project directory:
npm install react-router-dom
Once you’ve installed React Router, you can start incorporating it into your app. In your app’s entry point (usually index.js), import the BrowserRouter component from the react-router-dom package:
import React from 'react';
import ReactDOM from 'react-dom';
import { BrowserRouter } from 'react-router-dom';

import App from './App';

ReactDOM.render(
  <BrowserRouter>
    <App />
  </BrowserRouter>,
  document.getElementById('root')
);
The BrowserRouter component is the foundation of React Router, enabling you to define routing rules and manage navigation between different parts of your app. In this example, we’re wrapping the App component with BrowserRouter, indicating that we want to use React Router to manage our app’s navigation.
Defining Routes
With BrowserRouter in place, we can start defining routes for our app. In React Router, a route is simply a mapping between a URL path and a corresponding component. To define a route, we use the Route component from the react-router-dom package.
Here’s an example of how to define a basic route:
import React from 'react';
import { Route } from 'react-router-dom';

import Home from './Home';
import About from './About';

function App() {
  return (
    <div>
      <Route exact path="/" component={Home} />
      <Route path="/about" component={About} />
    </div>
  );
}

export default App;
In this example, we’ve defined two routes: one for the home page (/) and one for the About page (/about). We’ve specified that the Home component should be rendered when the user visits the home page, and that the About component should be rendered when the user visits the /about page.
Note that we’ve used the exact prop on the first route to ensure that it only matches the exact URL path (/), rather than any path that starts with /. This ensures that the Home component is only rendered when the user visits the home page, and not when they visit any other pages on your app.
Here’s an example of how to use the Link component to create a link to the About page:
import React from 'react';
import { Link } from 'react-router-dom';

function Home() {
  return (
    <div>
      <h1>Welcome to the Home Page!</h1>
      <p>Click <Link to="/about">here</Link> to learn more about us.</p>
    </div>
  );
}

export default Home;
In this example, we’ve created a Link component that points to the /about URL path. When the user clicks on this link, React Router will navigate to the About page, as defined in our routes.
Note that we’re using the to prop to specify the URL path for the link. This can be any valid URL path that matches one of the routes defined in your app.
Passing Data with Route Parameters
In addition to linking between pages, you may need to pass data from one page to another. One way to do this in React Router is by using route parameters.
Route parameters are placeholders in a URL path that match dynamic values, such as IDs or usernames. For example, a blog app might use a URL path like /post/:id to represent a specific blog post, where :id is a route parameter that matches the ID of the post.
Here’s an example of how to define a route with a parameter:
import React from 'react';
import { Route } from 'react-router-dom';

import Post from './Post';

function App() {
  return (
    <div>
      <Route exact path="/" component={Home} />
      <Route path="/post/:id" component={Post} />
    </div>
  );
}

export default App;
In this example, we’ve defined a route for blog posts, using the /post/:id URL path. The :id parameter matches the ID of the post, which can be accessed in the Post component using the match.params.id property.
Here’s an example of how to use route parameters in a link:
import React from 'react';
import { Link } from 'react-router-dom';

function Home() {
  return (
    <div>
      <h1>Welcome to the Blog!</h1>
      <ul>
        <li><Link to="/post/1">Post 1</Link></li>
        <li><Link to="/post/2">Post 2</Link></li>
        <li><Link to="/post/3">Post 3</Link></li>
      </ul>
    </div>
  );
}

export default Home;
In this example, we’ve created a list of links to different blog posts, using the /post/:id URL path to specify the ID of each post. When the user clicks on one of these links, React Router will navigate to the corresponding post page, passing the post ID as a route parameter.
Programmatic Navigation
In addition to using links to navigate between pages, you may also need to navigate programmatically, based on user actions or other events in your app. React Router provides several methods for programmatically navigating your app, including the history.push and history.replace methods.
Here’s an example of how to use the history.push method to navigate to a new page:
import React from 'react';

function Login({ history }) {
  function handleLogin() {
    // Simulate login
    setTimeout(() => {
      // Navigate to the dashboard page
      history.push('/dashboard');
    }, 1000